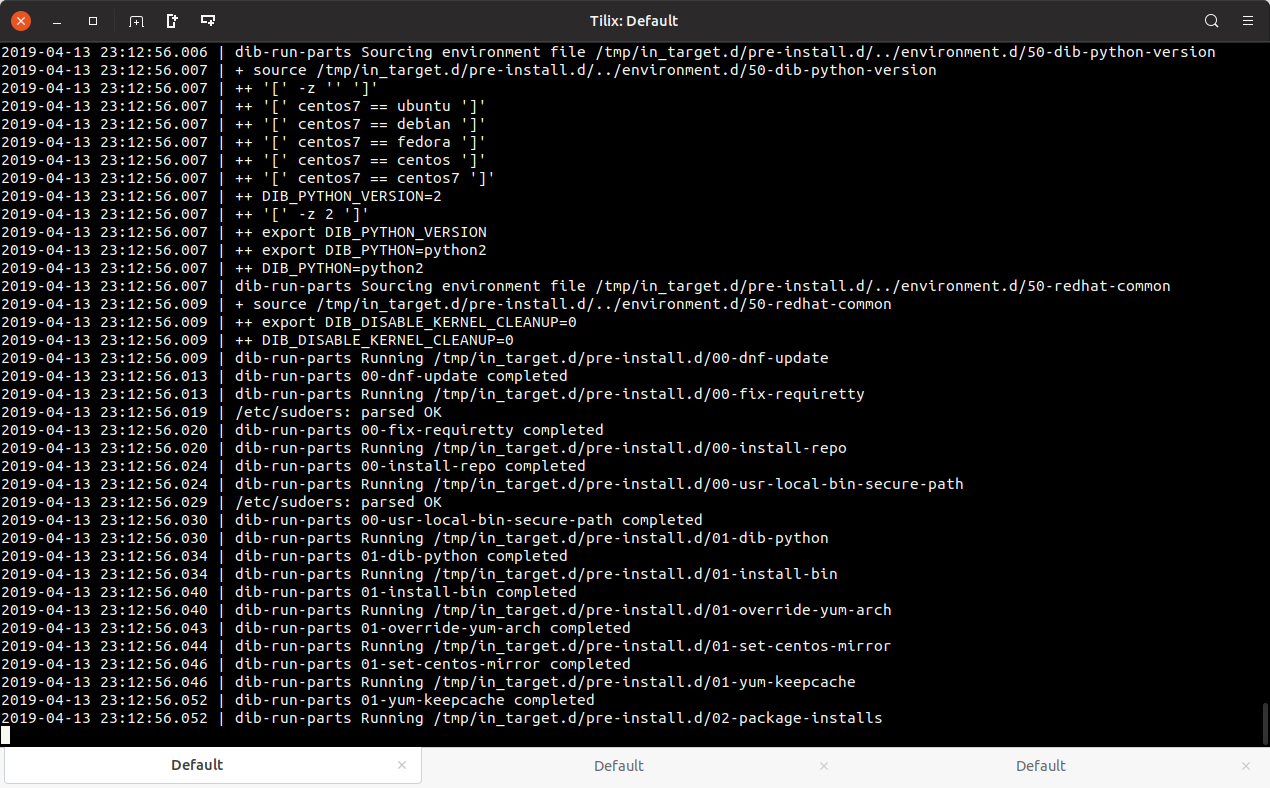
diskimage-builder is an OS disk image building tool from the OpenStack project. diskimage-builder allows you to create customized OS disk images for a number of the larger Linux distributions that you can then use in basically any virtualization system including cloud providers like AWS and Azure. In this post I’m going to discuss how to get start with diskimage-builder.
Prerequisites
virtualenv dib
Next, activate the virtual environment and install diskimage-builder:
. ./dib/bin/activate
pip install diskimage-builder
In addition to diskimage-builder you’ll also want to have qemu-tools (Debian based systems) or qemu (RedHat based systems) and kpartx.
Later you may also find it useful to have guestfish installed so you can browse the resulting qcow2 images to verify the changes you’re trying to make. On Debian based systems it is found in libguestfs-tools. You can read about how to use guestfish at http://libguestfs.org/guestfish.1.html.
With these tools installed we can get started.
Creating your first image
The simplest way to think of diskimage-builder is that it is basically a framework for running what they call “elements” in an order specified by specifically named directories within the element directory. diskimage-builder ships with a number of default elements that form the basis of what diskimage-builder can do. Here is an example command that will create a very basic image:
disk-image-create -a amd64 vm base centos7
Allow this to finish and you’ll have a very basic CentOS 7 based disk image. You can use guestfish to browse the file if you’d like.
If you’d like to boot this image you can either rerun the command with “-t vmdk” to output a VirtualBox compatible disk image or convert it using qemu-img convert, like this:
qemu-img convert -f qcow2 -O vmdk -o adapter_type=lsilogic,subformat=streamOptimized,compat6 image.qcow2 image.vmdk
Customizing your image
As I mentioned before, diskimage-builder applies elements to the base image of your choosing. To apply a custom element or elements it is as easy as creating a directory to contain your custom elements, setting an environment variable defining where to find your elements and then applying them.
Here is a very simple element that will install some additional packages in our image. Start by creating a directory called elements and then inside of that create directory called my-packages. Finally, inside of the my-packages directory create an install.d directory. Within install.d create a file and add the following:
#!/bin/bash

yum install -y cowsay
Save the file and use chmod +x to mark it executable. It won’t work unless it is marked executable.
Now you can rerun disk-image-create command and include your new element, like this:
ELEMENTS_PATH=./elements disk-image-create -a amd64 vm base centos7 my-packages
The image will then be regenerated but this time it will include the cowsay program. Of course, there is an easier way to simply install a package by using disk-image-create’s -p flag but this demonstrates a very basic element.
For detailed information about creating custom elements visit https://docs.openstack.org/diskimage-builder/latest/developer/developing_elements.html. In particular look at all of the available subdirectories. These subdirectories are how you define when a script should be run during the disk image building process. It also provides some hints on how to name any environment variables for when you start creating more advanced elements.
Conclusion
In this post I introduced you to diskimage-builder from the OpenStack project, how to create your first image and then how to create your own custom element. In a future post I’ll walk you through the process of running that image in VirtualBox, Proxmox and AWS.
