Not too long ago a Raspberry Pi 3 found its way into my home and after looking around on the Internet for Raspberry Pi based projects I decided to turn it into a HomeKit hub using Homebridge. While installing Homebridge isn’t terribly difficult I decided I could make it even easier by utilizing puppet.
Using puppet to install Homebridge as well as any additional modules you want is beneficial because you can backup the puppet files and if you need to rebuild your Raspberry Pi for any reason you can quickly get back up and running by applying your existing puppet config. If you’re feeling adventurous you can manage all of your software and configs using puppet.
This post details how to get Homebridge installed on a Raspberry Pi running Raspbian Jessie and assumes you have already Raspbian installed, have gained access to it using ssh or are using the terminal application in PIXELS.
To install Homebridge, do the following (prefix all commands with sudo if you are not already logged in as root):
- apt-get update
- apt-get install puppet
- puppet module install puppetlabs-apt
- puppet module install puppet-nodejs
- puppet module install dustinrue-homebridgepi
With that out of the way you can create the puppet file that defines what software is installed on your system. To get started, all you need is the following:
include homebridgepi
Into a file called homebridge.pp using your favorite editor. You can now tell puppet to apply this to your system.
puppet apply homebridge.pp
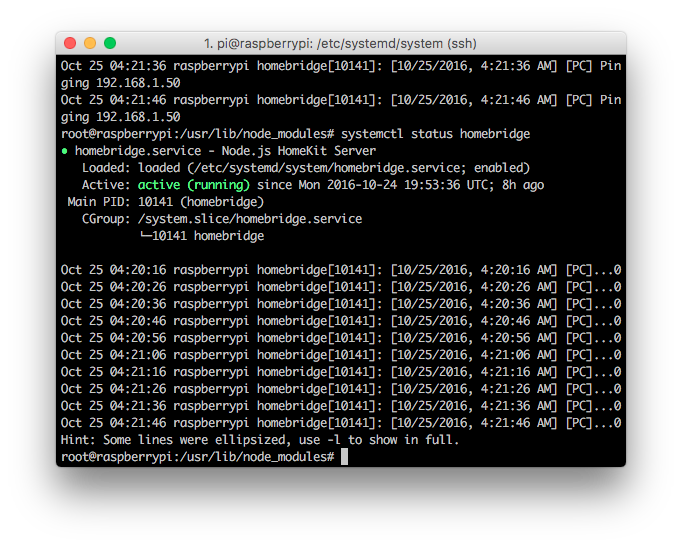
This will install Homebridge and set it to start on system boot using systemd. Homebridge will be installed to run as root but you can change this behavior by editing /etc/systemd/system/homebridge.service and changing the User value. I choose to run it as root as some modules require root privileges to run helper programs. Know that if you do so you’ll need to manually move your .homebridge directory from /root to whatever user you choose.
You can view the logs of Homebridge by issuing:
journalctl -uf homebridge
You will find your config.json file located at /root/.homebridge/config.json. In it will be the default config that you can expand on. You can configure any additional modules you want to install (described below) in this file as well.
From here you can define additional Homebridge modules you want to install by editing your homebridge.pp file. As an example, here are some of the modules I install on my system to support what I’m using Homebridge for:
include homebridgepi

package {
  'vim':
    ensure => 'installed',
    provider => 'apt';

  'homebridge-wol':
    ensure => 'latest',
    install_options => '--unsafe-perms',
    provider => 'npm';

  'homebridge-xbox-one':
    ensure => 'latest',
    source => 'https://github.com/dustinrue/homebridge-xbox-one.git',
    install_options => '--unsafe-perms',
    provider => 'npm';
}