If you find yourself in the business of creating and testing Helm charts, or you simply want to try one out, then Colima with its built in Kubernetes functionality may be for you. In this post I am going to walk through how to quickly get going with Colima’s Kubernetes integration and an ingress controller for basic Helm chart testing.
I assume you already have Colima and Helm installed and are familiar with the tools and Kubernetes itself. If this is you then continue reading!
For this post I am using Colima 0.4.4, k3s v1.23.6+k3s1, helm 3.9.3 and ingress-nginx 4.2.0. I often find myself creating Helm charts and I want to test my modifications locally before committing my changes. Once in a while I also want to quickly test an available helm chart without messing up an existing Kubernetes installation. In these cases I will create a Colima instance with Kubernetes enabled and install my preferred ingress controller, nginx-ingress.
To get started, ensure that no other colima instances are running using colima list followed by a colima stop <name of profile> for any running instances. You should also ensure that there are no other services running on your system that are opening ports, especially 80, 443 and 3306. This helps ensure your test instance doesn’t interfere with any existing colima instances or other services. Then, issue colima start helm-test --kubernetes -m4 to start a colima instance with 4GB memory and Kubernetes enabled. Once colima has finished creating the instance you can add the ingress-nginx helm repository if you don’t already have it with helm repo add ingress-nginx https://kubernetes.github.io/ingress-nginx followed by helm repo update. You can now install ingress-nginx using helm install -n ingress-nginx --create-namespace --set controller.ingressClassResource.default=true ingress-nginx ingress-nginx/ingress-nginx. This command will install ingress-nginx and set it as the default ingress class for the cluster. At this point you have basic installation of Kubernetes with an ingress controller which will allow you to test most Helm charts.
As a test, you could now create a brand new helm chart with helm create nginx. Edit the resulting values.yaml file and enable ingress then install the chart into your new test cluster. You should see that it is able to download and install the default nginx image and create the proper ingress rule automatically. For my test I used helm install -n default nginx .. Before long you should see this as an ingress record:
kubectl get ingress nginx
NAME    CLASS   HOSTS                 ADDRESS        PORTS   AGE
nginx   nginx   chart-example.local   192.168.5.15   80      54s
Despite what the Address column says, the chart is now available at 127.0.0.1. Create a hosts entry and you will be able to get the default nginx page.
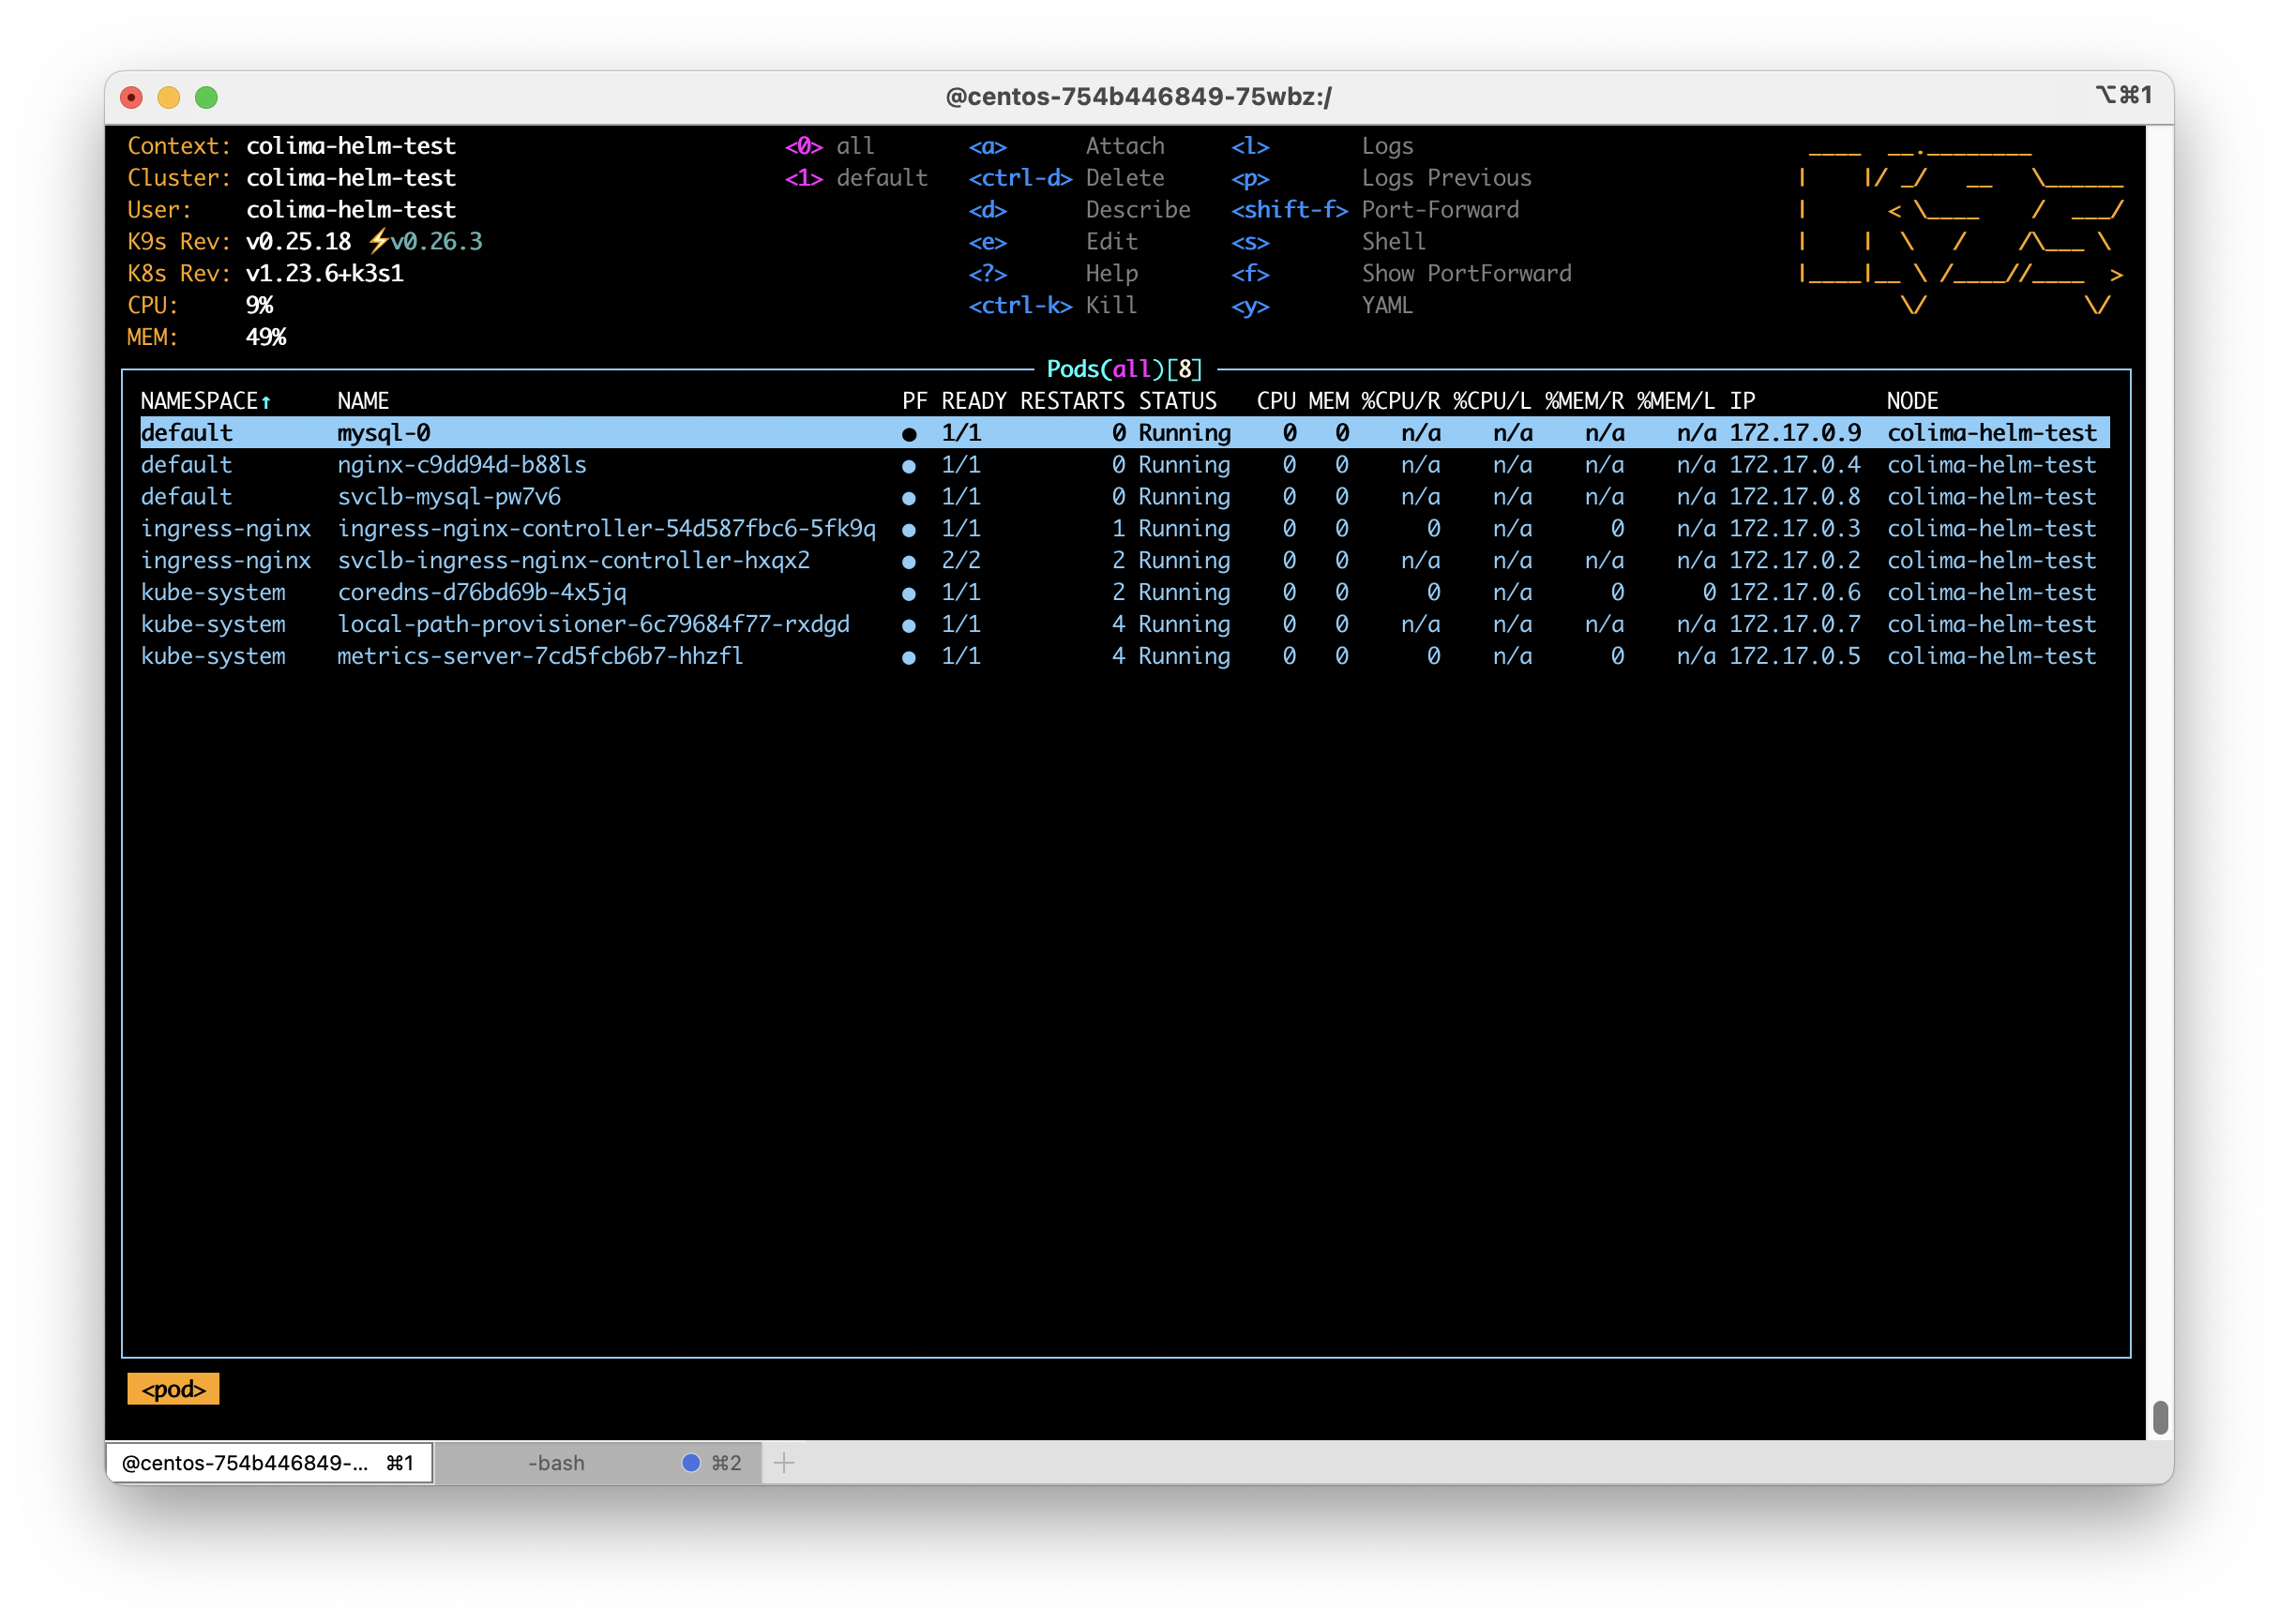
Of course, you can use or test other charts too. Here I will install bitnami’s MySQL chart with the following settings in a yaml file
## MySQL Authentication parameters
##
auth:
  ## MySQL root password
  ## ref: https://github.com/bitnami/bitnami-docker-mysql#setting-the-root-password-on-first-run
  ##
  rootPassword: "password"
  ## MySQL custom user and database
  ## ref: https://github.com/bitnami/bitnami-docker-mysql/blob/master/README.md#creating-a-database-on-first-run
  ## ref: https://github.com/bitnami/bitnami-docker-mysql/blob/master/README.md#creating-a-database-user-on-first-run
  ##
  database: "blog"
  username: "wordpress"
  password: "password"
##
primary:
  persistence:
    ## If true, use a Persistent Volume Claim, If false, use emptyDir
    ##
    enabled: false
  service:
    ## @param primary.service.type MySQL Primary K8s service type
    ##
    type: LoadBalancer
##
secondary:
  ## Number of MySQL Secondary replicas to deploy
  ##
  replicaCount: 0
I install the bitnami repo using helm repo add https://charts.bitnami.com/bitnami followed by helm repo update to ensure I have the latest info. To install a copy of MySQL with my settings file I use helm install -f mysql.yaml mysql bitnami/mysql. After a short while MySQL will be installed and also available on localhost through k3s’ built in LoadBalancer system. Notice in the mysql.yml file I specified I asked the chart to install the primary instance of MySQL with a LoadBalancer based service instead of the default ClusterIP.
When you are finished testing a simple colima delete helm-test will remove your testing environment and free up resources.
Hopefully you see now how quickly and easily you can get going with Colima and its Kubernetes integration to get a local Kubernetes cluster up and running for testing. The Kubernetes integration Colima uses is very capable and well suited to learning and testing. Enjoy!
Hi! I followed this setup on my M1 mac with colima, but still get connection refused 🙁 I Understand that you might not give a crap, but i thought i would give it a try any way.
At what point does it break? Are you able to run Colima? Able to access k3d/k3s? Is it your service you are testing that is not working?
It’s while using the host name alias that it breaks. I can use the external ip just fine and hit the nginx, but then i will always get a 404 because the ingress is routing the host name, not the ip. If that makes sense.
To explain. I follow your instructions and everything works up until i try to curl my service with the hostname instead of the ip.
You entered a host entry for chart-example.local that points at 127.0.0.1?
No. My set up is as follows:
All your instructions up until after the nginsx installation. Then i install my service “userpod” with helm and corresponding values file with ingress annotations and rules etc. The service comes up, it gets the ingress and everything looks fine. I add the entry in host pointing to the external ip, the 127.0.0.1 doesnt work. Now, i have figured out that acctually can access it if i use resolve flag with curl. But that deafeats the whole host file purpose.
I actually figured out the issue. My entry alias in the host was dmdp.localhost. The localhost part trip everything up. As sson as i changed that to dmdp.local and reissued the certificates etc, it all worked like a charm! THANK YOU!