This page is a companion to the Github repo for creating CentOS images for Proxmox using Packer. It describes how to setup Cloud-Init on Proxmox.
Update: If you want to customize your cloud-init process take a look my deeper look at Proxmox cloud-init
Creating the Cloud-Init Drive
For any template in Proxmox you can add an additional hardware piece called the cloud-init drive. This special drive is used as the cloud-init datasource for a newly booted VM that has been cloned from your template. To create the cloud-init drive visit the hardware page of your new VM, click Add and select the cloud-init option. You will be asked where you want to store the drive. I usually pick the save location as the system drive for the template.
Once cloud-init drive has been added you can configure the settings by visiting the Cloud-Init screen. Assuming you already have DHCP working on your network then all you need to customize is the user to be created and the ssh-key to be added. To do so double click on the user entry where it says Default and enter in a username to be created. I usually pick centos.
Next, double click the SSH public key option and paste in your SSH public key. When you are finished your screen will look similar to the image below
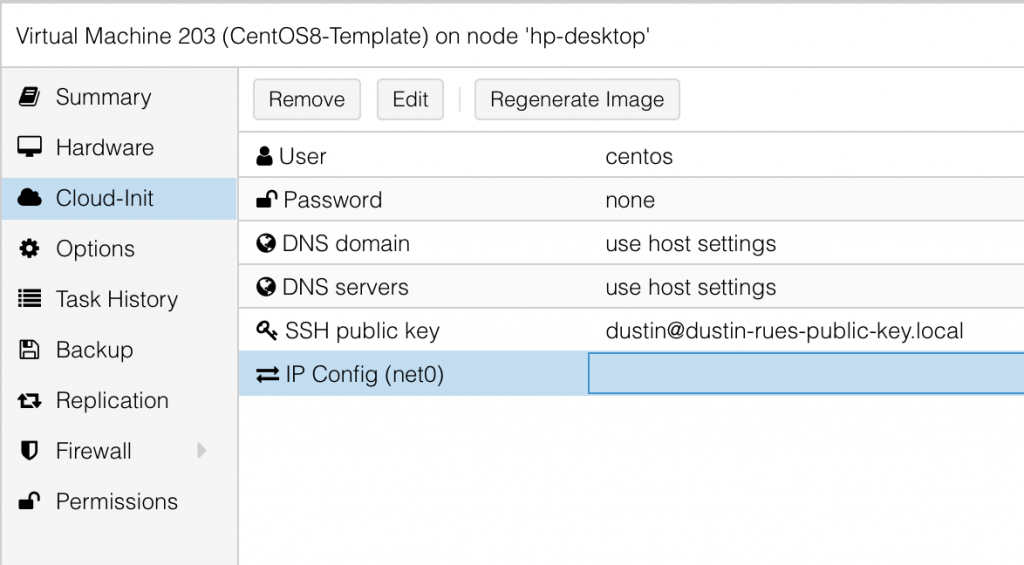
At this point your new VM is ready to start. Once it has started you can visit the Summary screen to see the IP address it got and then ssh to that address as the user centos.