When you create a k3s cluster using colima it will default to using Docker for the runtime. This means that any Docker image you build or pull will be available to k3s. This greatly simplifies testing locally built images being referenced by Helm charts or Kustomize (or whatever you are using).

This is not a feature unique to colima, but rather a feature of k3s if it is told to use the Docker runtime. You can read more at https://docs.k3s.io/advanced#using-docker-as-the-container-runtime.

Sometimes you need to run or build containers on a different architecture than you are using natively. While you can tap into buildx for building containers, running containers built for a different architecture other than yours requires Docker Desktop with its magic or the image itself needs to have been built in a specific way. This rarely happens.

Using Colima’s built in CPU architecture emulation it is possible to create a Colima instance, or profile, for either arm64 (aarch64) or amd64 (x86_64) on both types of Mac, the M series or an Intel series. This means M series Macs can run x86_64 containers and Intel Macs can run arm64 based images and the containers won’t be aware that they aren’t running on native hardware. Containers running under emulation will run more slowly than they would if run on native hardware but having the ability to run them at all is really useful at times.

Here is what you do to setup a Colima profile running a different CPU architecture. I’m starting with an M1 based system with no Colima profiles created. You can see the current profiles by running colima list.

colima list
WARN[0000] No instance found. Run colima start to create an instance.
PROFILE STATUS ARCH CPUS MEMORY DISK RUNTIME ADDRESS

From here I can create a new profile and tell it to emulate x86_64 using colima start --profile amd64 -a x86_64 -c 4 -m 6. This command will create a Colima profile called “amd64” using architecture x86_64, 4 CPU cores and 6GB of memory. This Colima profile will take some time to start and will not have Kubernetes enabled. Give this some time to start up and then check your available Docker contexts using docker context ls. You will get output similar to this:

docker context ls
NAME TYPE DESCRIPTION DOCKER ENDPOINT KUBERNETES ENDPOINT ORCHESTRATOR
colima-amd64 * moby colima [profile=amd64] unix:///Users/dustin/.colima/amd64/docker.sock
default moby Current DOCKER_HOST based configuration unix:///var/run/docker.sock

From here I can run a container. I’ll start with alpine container by running docker run --rm -ti alpine uname -a to check what architecture it is running under. You should get this in return if you are on an M series Mac – Linux 526bf44161d6 5.15.68-0-virt #1-Alpine SMP Fri, 16 Sep 2022 06:29:31 +0000 x86_64 Linux. Of course, you can run any container you need that is maybe x86_64 only.

Next I am going to run Nginx as an x86_64 container by running docker run --rm -tid -p 80:80 --name nginx_amd64 nginx. Once Nginx is running I will demonstrate how to connect to it from another container running on a different architecture. This is super useful if you are testing different pieces of software together but one isn’t available natively for your platform.

Now I’ll create a native instance of Colima using colima start --profile arm64 -c 4 -m 6. When this completes, docker context ls will now show a new context that it has switched to. Running docker ps will also show there is nothing running. You can switch between contexts using docker context use followed by the name of the context you want to use.

With the new context available I will start a copy of Alpine Linux again and add the curl package using apk add curl. With curl available, running curl host.docker.internal will show a response from Nginx!

Now that I am done testing I can remove the emulated profile using colima delete amd64 and the profile will be removed and cleaned up. Easy.

If you find yourself in the business of creating and testing Helm charts, or you simply want to try one out, then Colima with its built in Kubernetes functionality may be for you. In this post I am going to walk through how to quickly get going with Colima’s Kubernetes integration and an ingress controller for basic Helm chart testing.

I assume you already have Colima and Helm installed and are familiar with the tools and Kubernetes itself. If this is you then continue reading!

For this post I am using Colima 0.4.4, k3s v1.23.6+k3s1, helm 3.9.3 and ingress-nginx 4.2.0. I often find myself creating Helm charts and I want to test my modifications locally before committing my changes. Once in a while I also want to quickly test an available helm chart without messing up an existing Kubernetes installation. In these cases I will create a Colima instance with Kubernetes enabled and install my preferred ingress controller, nginx-ingress.

To get started, ensure that no other colima instances are running using colima list followed by a colima stop <name of profile> for any running instances. You should also ensure that there are no other services running on your system that are opening ports, especially 80, 443 and 3306. This helps ensure your test instance doesn’t interfere with any existing colima instances or other services. Then, issue colima start helm-test --kubernetes -m4 to start a colima instance with 4GB memory and Kubernetes enabled. Once colima has finished creating the instance you can add the ingress-nginx helm repository if you don’t already have it with helm repo add ingress-nginx https://kubernetes.github.io/ingress-nginx followed by helm repo update. You can now install ingress-nginx using helm install -n ingress-nginx --create-namespace --set controller.ingressClassResource.default=true ingress-nginx ingress-nginx/ingress-nginx. This command will install ingress-nginx and set it as the default ingress class for the cluster. At this point you have basic installation of Kubernetes with an ingress controller which will allow you to test most Helm charts.

As a test, you could now create a brand new helm chart with helm create nginx. Edit the resulting values.yaml file and enable ingress then install the chart into your new test cluster. You should see that it is able to download and install the default nginx image and create the proper ingress rule automatically. For my test I used helm install -n default nginx .. Before long you should see this as an ingress record:

kubectl get ingress nginx
NAME    CLASS   HOSTS                 ADDRESS        PORTS   AGE
nginx   nginx   chart-example.local   192.168.5.15   80      54s

Despite what the Address column says, the chart is now available at 127.0.0.1. Create a hosts entry and you will be able to get the default nginx page.

Of course, you can use or test other charts too. Here I will install bitnami’s MySQL chart with the following settings in a yaml file

## MySQL Authentication parameters
##
auth:
  ## MySQL root password
  ## ref: https://github.com/bitnami/bitnami-docker-mysql#setting-the-root-password-on-first-run
  ##
  rootPassword: "password"
  ## MySQL custom user and database
  ## ref: https://github.com/bitnami/bitnami-docker-mysql/blob/master/README.md#creating-a-database-on-first-run
  ## ref: https://github.com/bitnami/bitnami-docker-mysql/blob/master/README.md#creating-a-database-user-on-first-run
  ##
  database: "blog"
  username: "wordpress"
  password: "password"
##
primary:
  persistence:
    ## If true, use a Persistent Volume Claim, If false, use emptyDir
    ##
    enabled: false
  service:
    ## @param primary.service.type MySQL Primary K8s service type
    ##
    type: LoadBalancer
##
secondary:
  ## Number of MySQL Secondary replicas to deploy
  ##
  replicaCount: 0

I install the bitnami repo using helm repo add https://charts.bitnami.com/bitnami followed by helm repo update to ensure I have the latest info. To install a copy of MySQL with my settings file I use helm install -f mysql.yaml mysql bitnami/mysql. After a short while MySQL will be installed and also available on localhost through k3s’ built in LoadBalancer system. Notice in the mysql.yml file I specified I asked the chart to install the primary instance of MySQL with a LoadBalancer based service instead of the default ClusterIP.

When you are finished testing a simple colima delete helm-test will remove your testing environment and free up resources.

Hopefully you see now how quickly and easily you can get going with Colima and its Kubernetes integration to get a local Kubernetes cluster up and running for testing. The Kubernetes integration Colima uses is very capable and well suited to learning and testing. Enjoy!

In late August of 2021 the company behind Docker Desktop announced their plans to change the licensing model of their popular Docker solution for Mac and Windows. This announcement means many companies who have been using Docker Desktop would now need to pay for the privilege. Thankfully, the open source community is working to create a replacement.

For those not aware, Docker doesn’t run natively on Mac. The Docker Desktop system is actually a small Linux VM running real Docker inside of it and then Docker Desktop does a bunch of magic to make it look and feel like it is running natively on your system. It is for this reason that Docker Desktop users get to enjoy abysmal volume mount performance, the process of shuffling files (especially small ones) requires too much metadata passing to be efficient. Any solution for running Docker on a Mac will need to behave the same way and will inherit the same limitations.

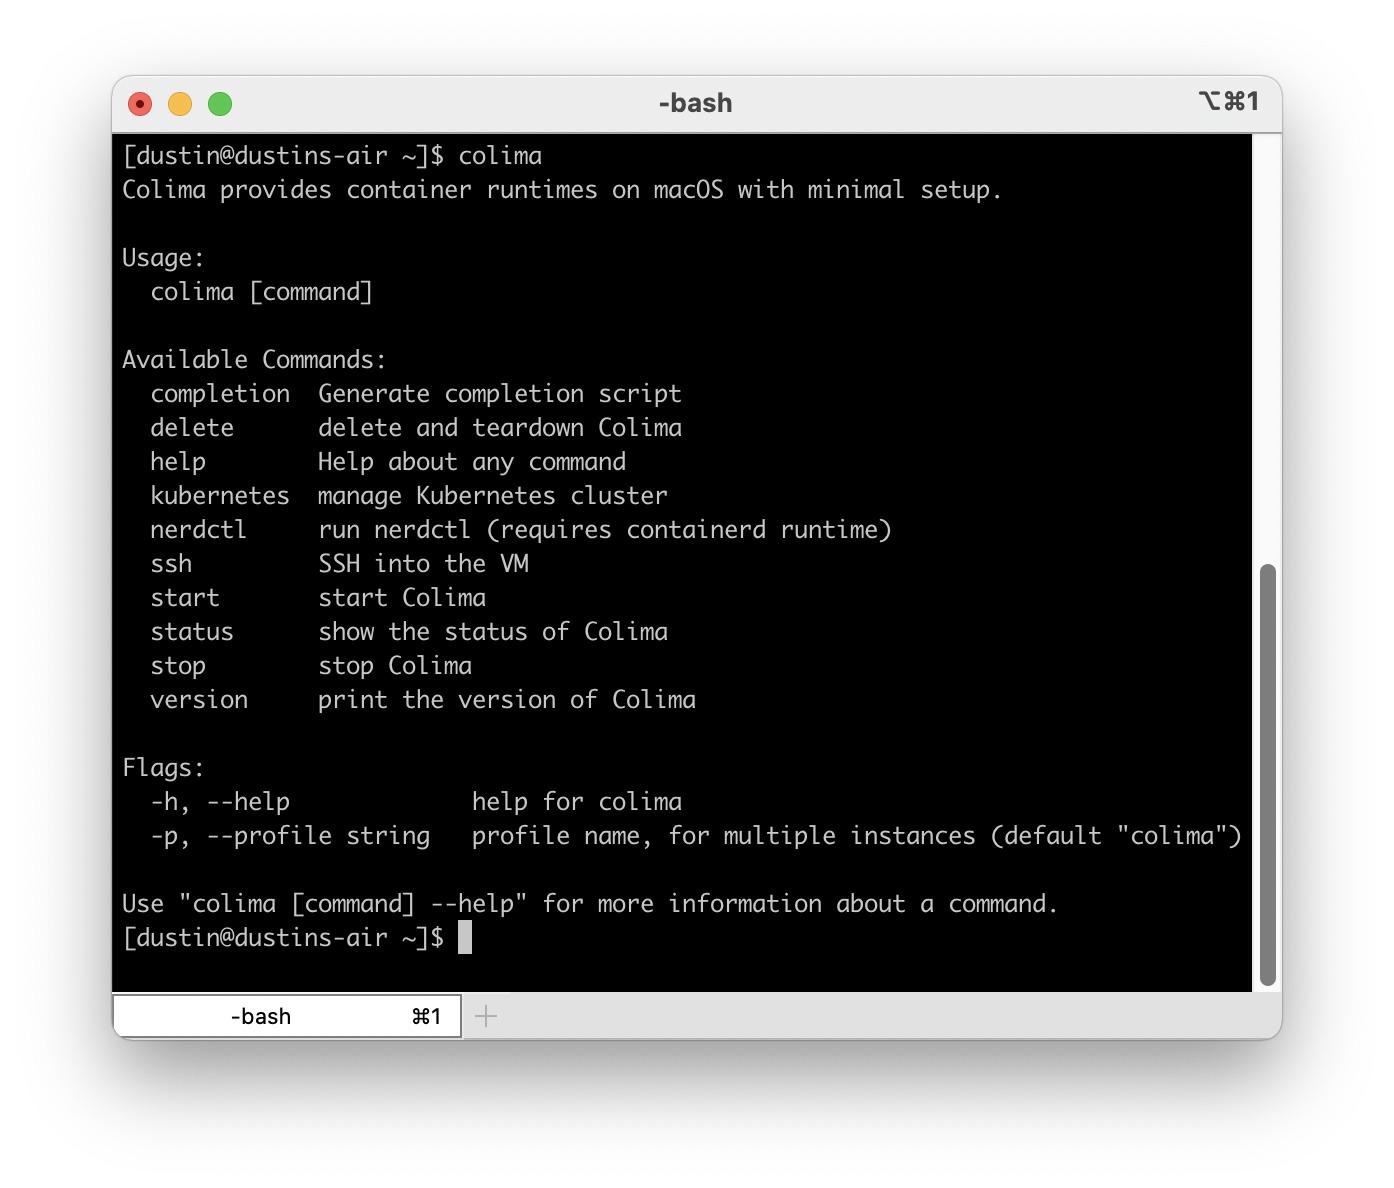
Colima is a command line tool that builds on top of lima to provide a more convenient and complete feeling Docker Desktop replacement and it already shows a lot of promise. Getting started with colima is very simple as long as you already have brew and Xcode command line tools installed. Simply run brew install colima docker kubectl and wait for the process to finish. You don’t need Docker Desktop installed, in fact you should not have it running. Once it is complete you can start it with:

colima start

This will launch a default VM with the docker runtime enabled and configure docker for you. Once it completes you will then have a working installation. That’s literally it! Commands like docker run --rm -ti hello-world will work without issue. You can also build and push images. It’s can do anything you used Docker Desktop for in the past.

Mounting Volumes

Out of the box colima will mount your entire home directory as a read only volume within the colima VM which makes it easily accessible to Docker. Colima is not immune, however, to the performance issues that Docker Desktop struggled with but the read only option does seem to provide reasonable performance.

If, for any reason, you need to have the volumes you mount as read/write you can do that when you start colima. Add --mount <path on the host>:<path visible to Docker>[:w]. For example:

colima start --mount $HOME/project:/project:w

This will mount $HOME/project as /project within the Docker container and it will be writeable. As of this writing the ability to mount a directory read/write is considered alpha quality so you are discouraged from mounting important directories like, your home directory.

In my testing I found that mounting volumes read/write was in fact very slow. This is definitely an area that I hope some magic solution can be found to bring it closer to what Docker Desktop was able to achieve which still wasn’t great for large projects.
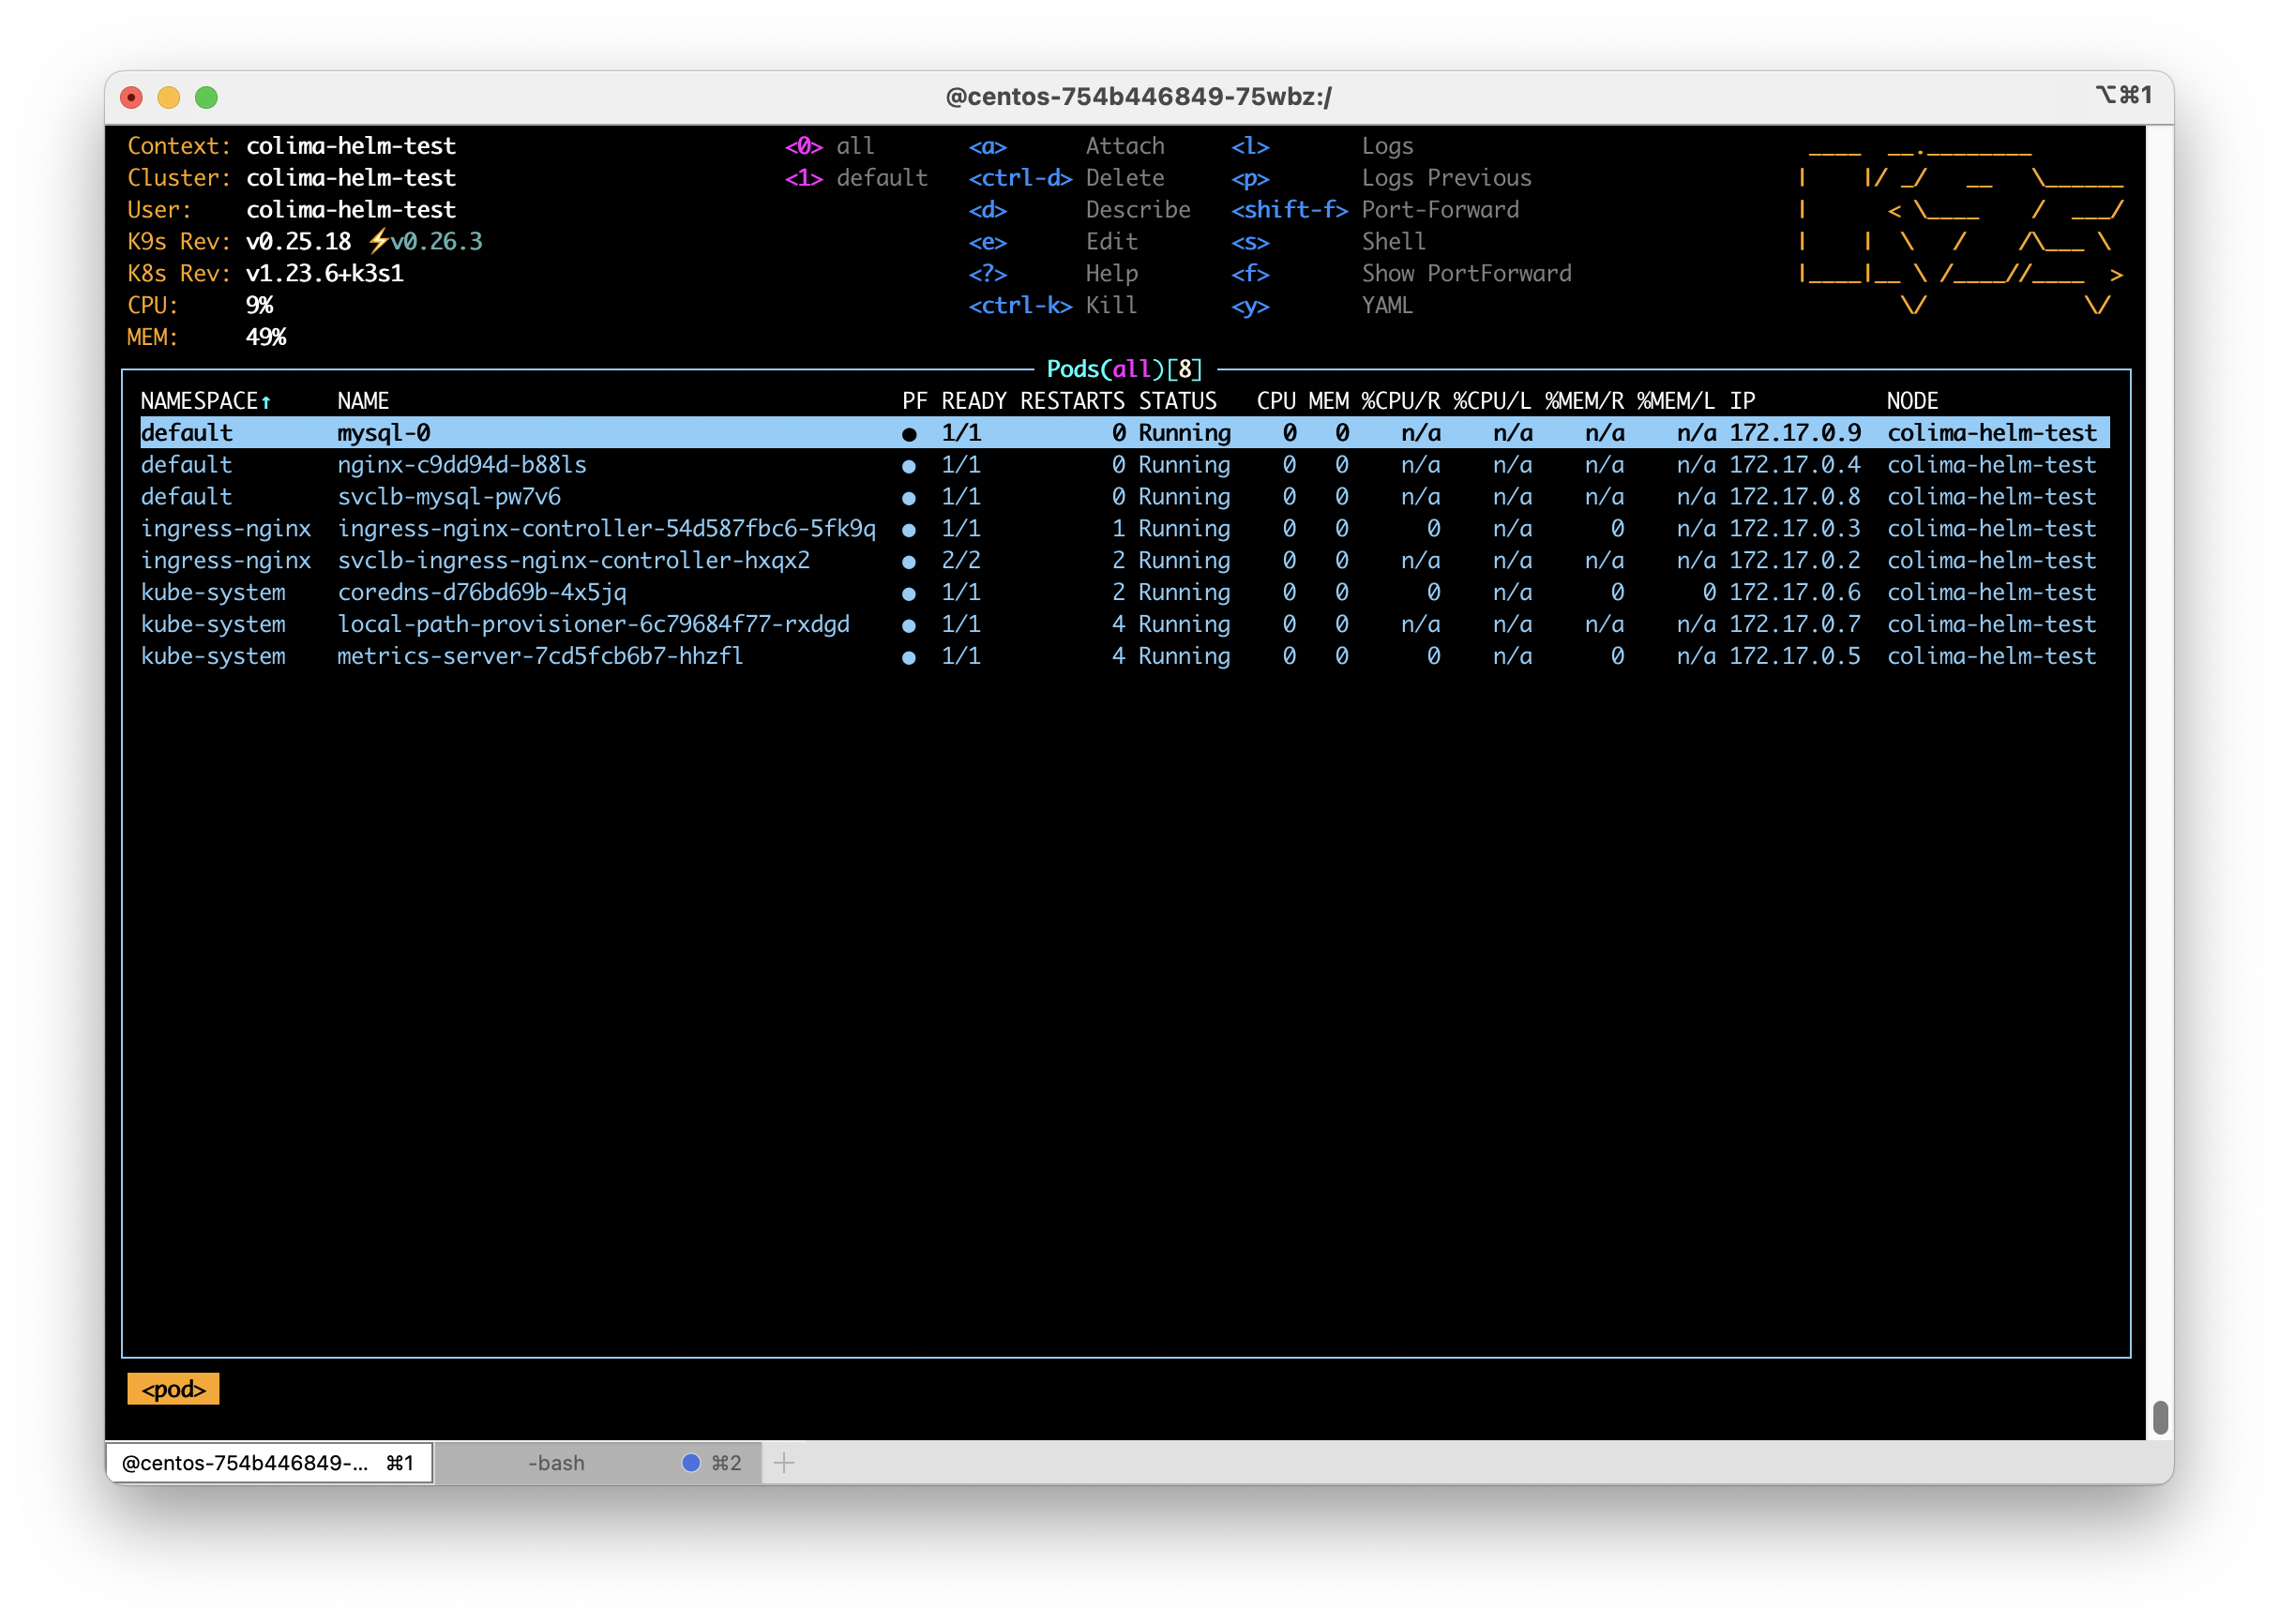
Running Kubernetes

Colima also supports k3s based Kubernetes. To get it started issue colima stop and then colima start --with-kubernetes. This will launch colima’s virtual machine, start k3s and then configure kubectl to work against your new, local k3s cluster (this may fail if you have an advanced kubeconfig arrangement).

With Kubernetes running locally you are now free to install apps however you like.

Customizing the VM

You may find the default VM to be a bit on the small side, especially if you decide to run Kubernetes as well. To give your VM more resources stop colima and then start it again with colima start --cpu 6 --memory 6. This will dedicate 6 CPU cores to your colima VM as well as 6GB of memory. You can get a full list of options by simply running colima and pressing enter.

What to expect

This is a very young project that already shows great potential. A lot is changing and currently in the code base is the ability to create additional colima VMs that run under different architectures. For example, you can run arm64 Docker images on your amd64 based Mac or vice versa.

Conclusion

Colima is a young but promising project that can be used to easily replace Docker Desktop and if you are a Docker user I highly recommend giving it a try and providing feedback if you are so inclined. It has the ability to run Docker containers, docker-compose based apps, Kubernetes and build images. With some effort you can also do multi-arch builds (which I’ll cover in a later post). You will find the project at https://github.com/abiosoft/colima.